 800-4-SEATOW
 Service Locator
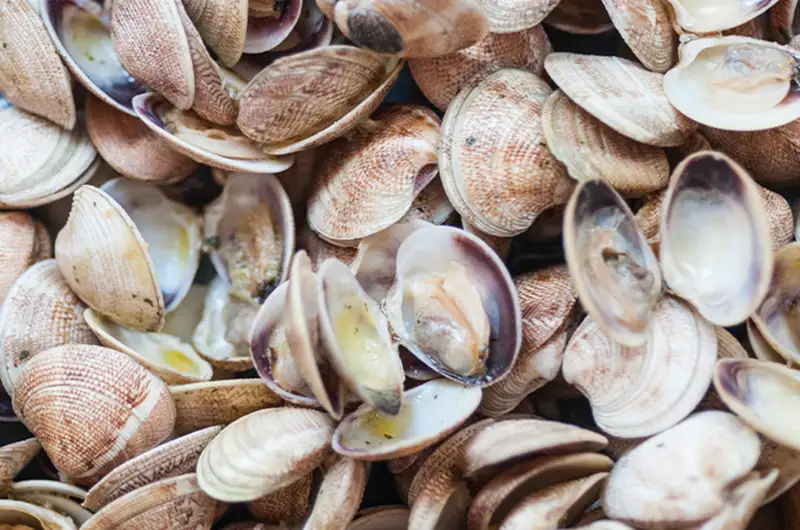
Ah, the thought of a clambake. Sounds like a great idea, right? After all, who can resist a variety of freshly procured saltwater shellfish cooked within steps of the surf.
To be sure, there is no finer way to enjoy some seafood delight than at a fun gathering along the shore. But before you decide to dig in, realize this method of seafood preparation requires a fair amount of effort for everything to come together.
First, of course, there are the logistics of hauling a bunch of shellfish, corn, potatoes and lobsters to the beach. That necessitates a selection of buckets and coolers at the very least. Then, of course, there’s the digging of the hole, plus gathering enough stones to line it. You’ll also need enough wood to burn for two or three hours, seaweed to cover and steam your meal, and a watchful eye to ensure everyone’s safety.
Among other things to consider is acquiring the proper permits if you’ll be hosting a clambake on public land. Check with your town, village, or the local fire department to make sure you’re on the right side of the law.
All disclaimers aside, clambakes are a ton of fun. Whether intimate and intended for just a guest or two, or a larger affair to serve friends and family, clambakes offer the opportunity to get together, work toward a common goal, and revel in the culinary delight of well-cooked meal, simply presented, and accentuated with an appropriate beverage.
With the ultimate end goal in mind, here’s a simple clambake protocol that allows for plenty of creative input when it comes to the ingredients. It’s your’s to try for the simple promise of constructing the cooking pit in an area less traveled and, at days end, carrying off for proper disposal whatever you’ve brought onto the beach.
SURFSIDE CLAMBAKE
Ingredients (per person):
- 1-1/4-pound lobster
- 1/2-dozen little neck clams
- ½-lb. chorizo
- 1 ear of corn (leave husk on)
- ½ pound of new potatoes
- ½-lb blue mussels or steamer clams (optional)
- ½ chicken breast (optional)
- ¼ cup butter
- Salt and pepper
- Beverages of choice ‘
Additional Items:
- 2 large metal buckets
- Fire extinguisher
- Aluminum foil
- Oven mitts or long-handle tongs
- Matches or lighter
- Shovel
- Large, round rocks to line the fire pit
- 2 – 3 bushels of rockweed or other clean, moist seaweed
- Wood for fire
- Large serving trays, plus napkins, utensils and serving plates
- Canvas tarp large enough to fully cover the fire pit
- Garbage and recycling bags or bins
Procedure:
- In clean sand, located above the tide line but below any point where vegetation can grow, shovel out a circular fire pit measuring 2’(w) x 4’(l) x 2’ (d).
- Line the pit with stones. The perimeter stones should extend half-way up the sides.
- Place wood in pit and carefully start a fire. Feed the fire consistently, allowing it to heat the stones for 2-4 hours. (Stones should be approximately 400°F). Keep a fire extinguisher and bucket of water nearby in case the fire flares up.
- When ready to cook, use a shovel to spread coals evenly across the rocks. Carefully shovel excess coals into a bucket of water and discard once cooled
- All seafood items should be purchased on the day of the clambake. Keep these, and other food items, on ice in a shaded cooler until ready to cook. Discard any shellfish that die or will not close when tapped gently with a small rock.
- As appropriate, scrub and cleanse food items before wrapping each food type except lobsters in separate aluminum foil pouches.
- Add a 4” layer of seaweed over the entire pit. Fresh, moist rockweed is preferred, but other seaweed works if fully dampened before use. (If you can’t find rockweed along your beaches, it can be purchased from some fish markets.)
- Using tongs or oven mitts, distribute foil pouches and lobsters in a single layer across the rocks.
- Place a 4-inch layer of moist, fresh seaweed atop the pit, making sure to cover all pouches.
- Cover the pit area with a fully wet canvas tarp and shovel some sand over the edges to hold it in position. Mark the pit so everyone knows its boundaries.
- It generally takes 1 – 3 hours for all the food to cook. Resist checking for the first hour.
- When the lobsters are fully red, shellfish are open and veggies seem fork tender, the feast is ready to begin. Peel back the entire canvas, then use oven mitts or tongs to move all food ingredients to serving trays.