 800-4-SEATOW
 Service Locator
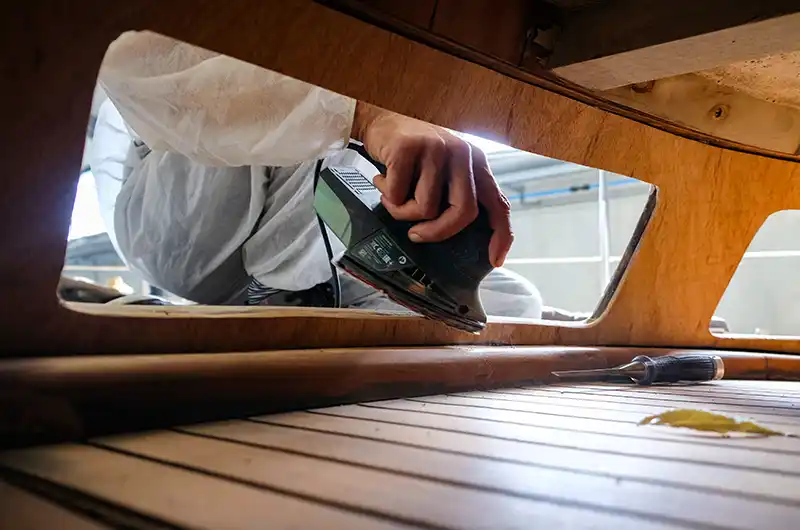
A strong, dry deck keeps your boat safe, quiet and leak-free. You can fix most soft spots or rotten cores yourself with common tools, marine-grade materials, and a weekend of sweat. From first tap-test to fresh non-skid, this guide walks you through the entire process while flagging the few jobs better left to a yard.
Why Your Deck Deserves Attention
Every hull movement, dropped cooler, or rogue wave pounds the deck you walk on. Ignoring small leaks can leave water under the fiberglass skin or soaking in the plywood. Left unchecked, rot spreads, hardware loosens, and a Sunday cruise can turn into a costly haul-out.
Get to Know Your Deck
Common Construction
Fiberglass decks fall into four basic builds: solid fiberglass, plywood-cored glass, foam-cored composites, and traditional teak planks over a sub-deck. Each requires slightly different care, but all fail for the same three reasons: water intrusion, UV damage, and mechanical abuse.
Early Warning Signs
- Soft foot-feel. A spongy bounce usually means rotten wood or delaminated core.
- Hollow knock. Tap with a screwdriver handle; a sharp “tick” is healthy, but a dull “thud” means trouble.
- Rusty screws or dirty seepage around stanchions, hatches, or rod-holders could signal core damage or water intrusion.
Act when the problem is small and you will end with significant savings.
Safety First
- Suit up. Fiberglass dust is damaging, so wear goggles, nitrile gloves, a respirator, and a disposable Tyvek® suit.
- Ventilate. Work outside or set up hoses to ensure dust moves away from you.
- Kill the power. Remove batteries or pull battery switches so a stray grinder doesn’t nick live wires.
- Mind the weight. Remove coolers, engines, or T-tops that might twist an open deck.
How to Repair a Boat Deck
Seven Core Steps to a Rock-Solid Deck
Step 1 – Map the Damage
Outline every soft patch with a marker. Drill a ⅛-inch test hole at each corner; if shavings are wet or dark, expand your outline. Dry cores should feel light and look pale.
Step 2 – Strip the Skin
Set an oscillating multitool or circular saw just deep enough to cut the top skin (~⅛ inch). Work slowly, prying up the glass with putty knives. If the panels come off clean, save them – they’re perfect for future lids or templates.
Step 3 – Evict the Rot
Pry and scrape all soggy plywood or mushy balsa and vacuum all remaining dust, then wipe the cavity with acetone. Run a heat gun or leave a dehumidifier running overnight to dry out any hidden moisture.
Step 4 – Inspect the Structure
Look at stringers, bulkheads and wiring. Now is the moment to beef up backing plates or reroute fragile cables.
Step 5 – Install a New Core
Cut marine-grade plywood, foam, or end-grain balsa into 6-inch squares – small tiles flex into curved camber and make it easy to wet-out all surfaces. Butter the underside with thickened epoxy (mix colloidal silica until peanut-butter thick) and press firmly against the bottom skin. Use temporary screws with fender washers or sand-filled bags to clamp overnight.
Step 6 – Re-Laminate the Top Skin
If you saved the old skin, coat the underside with thickened epoxy and drop it back in place, matching grain and camber. If you’re missing panels, laminate fresh cloth:
- Grind a 10:1 tapered bevel around the cut-out edge.
- Lay alternating layers of 1708 biaxial and 6-oz finish cloth until slightly proud.
- Fair with micro balloon filler, block-sand, then roll or spray gelcoat.
Step 7 – Finish & Seal
Non-skid paint hides minor highs and lows and gives safe footing. Finally, bed every screw and hatch with marine-grade polyurethane or polysulfide, tightening lightly at first, then fully after the sealant skins.
Tip: A cured bead should ooze evenly all around the fitting. Any gap is a future leak waiting to happen.
Special Cases
Teak Deck Touch-Ups
Teak wears naturally, but pressure washing gouges the soft grain. Instead, scrub gently across the grain with a mild teak cleaner and a soft brush. Re-caulk seams as soon as they open. Route the old compound, wipe with acetone, and gun in fresh black polysulfide for a watertight seal.
Hardware & Hatch Leaks
Most deck rot starts at a loose cleat. Pull the bolts, clean the holes, and if they’re enlarged, over-drill and fill with epoxy. Once cured, re-drill and re-bed. Check port and hatch gaskets every season to prevent future leaks.
Preventive Maintenance
Moisture Is Your Enemy
- Rinse salt, then open hatches so the deck can breathe.
- Wax or paint exposed gelcoat every spring; UV-chalked decks absorb water faster.
Annual Deck Check
- Walk every square foot barefoot; your soles will detect soft spots better than shoes.
- Re-torque stanchion and cleat bolts.
- Shoot suspect zones with a moisture meter and log the readings. Rising numbers mean a future cut-out.
Stow Smart
Heavy coolers, dive tanks, and beanbags can bounce and damage decks. Add rubber feet or move them to stronger-supported areas.

Sea Tow Team
Sea Tow has been the premier leader in on-water boating assistance since 1983. We want to share news, press, tips and all things boating.